We first made sure that the ceiling was still structurally strong (involving an architect). After all the necessary work was done on the outside of the roof ( removal of vegetation, new waterproofing etc, we set to work on repairing the concrete ceiling.
Step 1:
Needs list: Hammer, hammer, chisel, impact hammer, wire brush.
Removal of the weak concrete. Identifying the weak and loose concrete was easy. A hammer was used to tap along the ceiling. A hollow sound will identify weak or loose spots. You may decide to mark these with a pencil.
 |
| This cracked area sounded hollow on tapping |
 |
| Here the steel mesh was already starting to show |
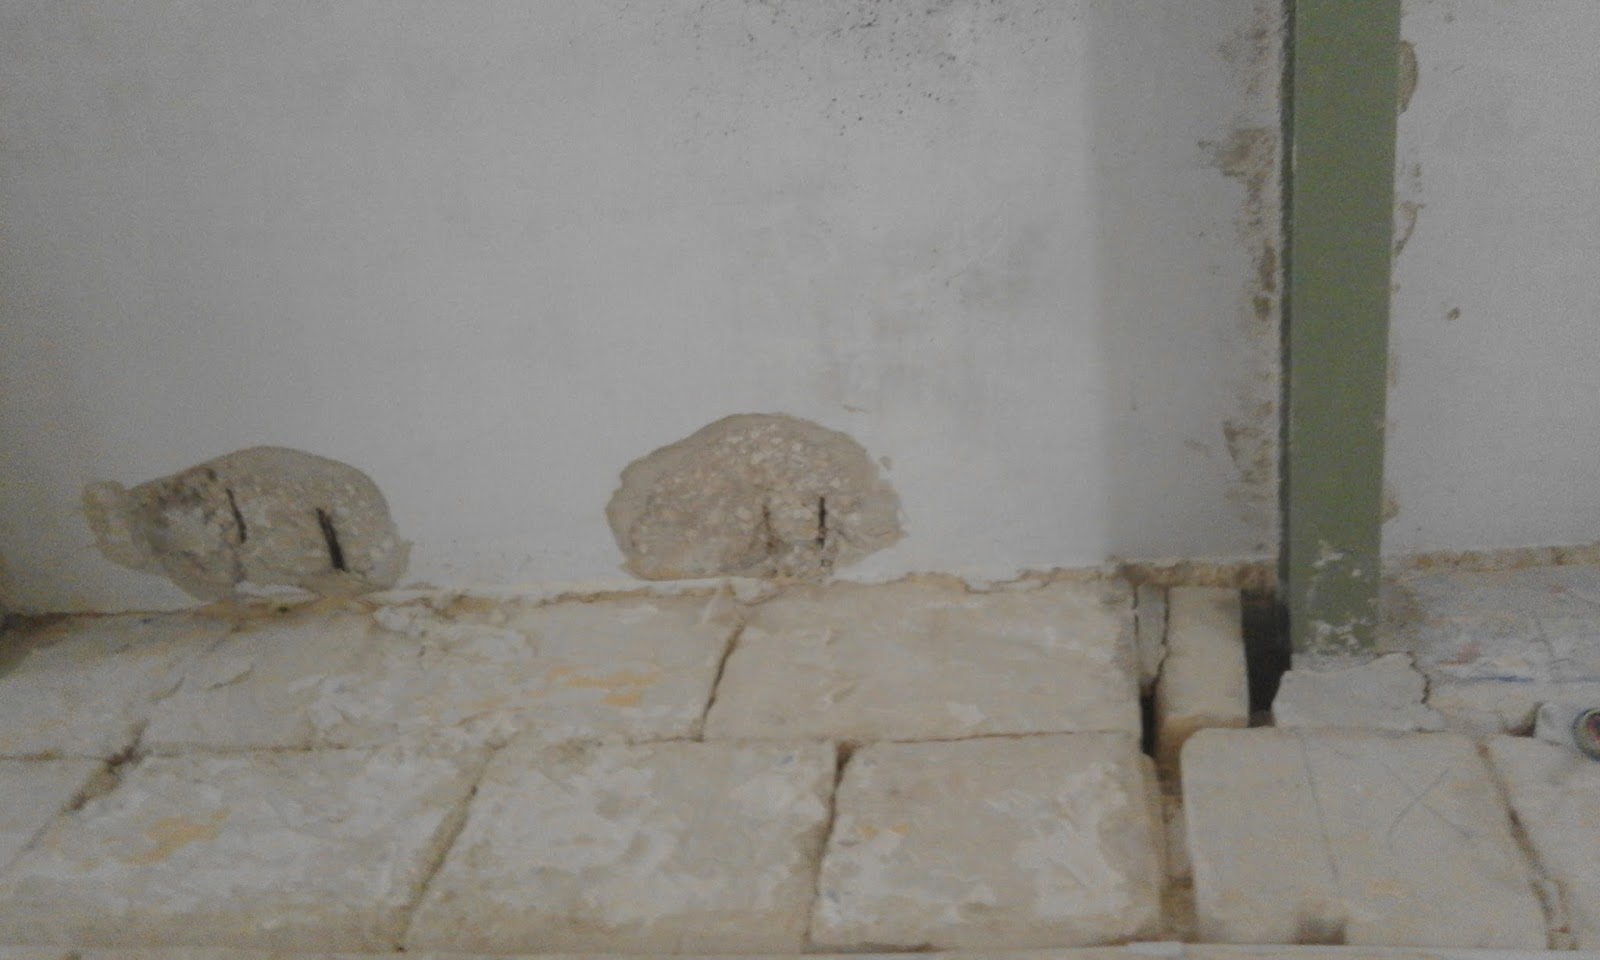
Using a small impact hammer, all the loose concrete was removed around the rusty parts of mesh. In the process any loose plastering was also removed, in preparation for re-plastering. It is essential to expose the steel mesh all around to allow for proper treatment of the mesh.
 |
| Exposure of the steel mesh all around to allow proper cleaning and treatment of the mesh |
Step 2.
Need list: paintbrush, steel treatment, suitable mortar for repair site, latex gloves.
A metal treatment was used to protect the exposed steel mesh. This particular product needed to coats with a curing time between 2 applications. (Always read product specs and only mix what you think you can use in one go). These 2 applications needed a number of hours to cure.
 |
| The steel after treatment. This image shows how the steel is cleared of loose concrete all around. |
The next step is to mix a batch of the repair mortar. This can be applied by trowel or by hand. The latter is easier as you need to make sure that the mesh is packed with mortar all around. (This is where the gloves come in) Make sure that the mortar is not runny as it will not adhere, and you will have lots of wastage.
All that needs to be done at this stage is to allow the mortar to set. After this the ceiling can be plastered in the desired finish, together with those areas where loose plaster had been removed.
 |
| Repair mortar covering mesh all around |
That's always one of the toughest ones to repair.
ReplyDeleteNot really. Like all other things its just a process you need to follow. The right tools help
ReplyDeleteThis comment has been removed by the author.
ReplyDeleteWe are quality Repairing a reinforced concrete ceiling service provide for concrete company.I have used all these tips and I am surprised that these all works fine.
ReplyDeleteready mix concrete price