Needs list
drill with sanding disc, sandpaper of various grit sizes, paint brushes, wood preserver, wood worm treatment (sometimes these come together in one product), syringe (for injecting into the woodworm holes), googles, dust mask, sander, paint, used,clean food tins, thinner ( for cleaning brushes)
Attention: Ventilate the room as much as possible during the sanding / scraping and painting stages.
Attention: Ventilate the room as much as possible during the sanding / scraping and painting stages.
Together with the architect and builder we ascertained that these beams were structurally sound. There is no point in doing all that work to have to eventually replace them.
Stripping the paint
The paint was dry and cracked. I started the process with a 40 grit sand paper. I found that the drill with a sanding disc worked well. The minor circular marks will disappear once you reduce the size of grit and shift to using a sander.
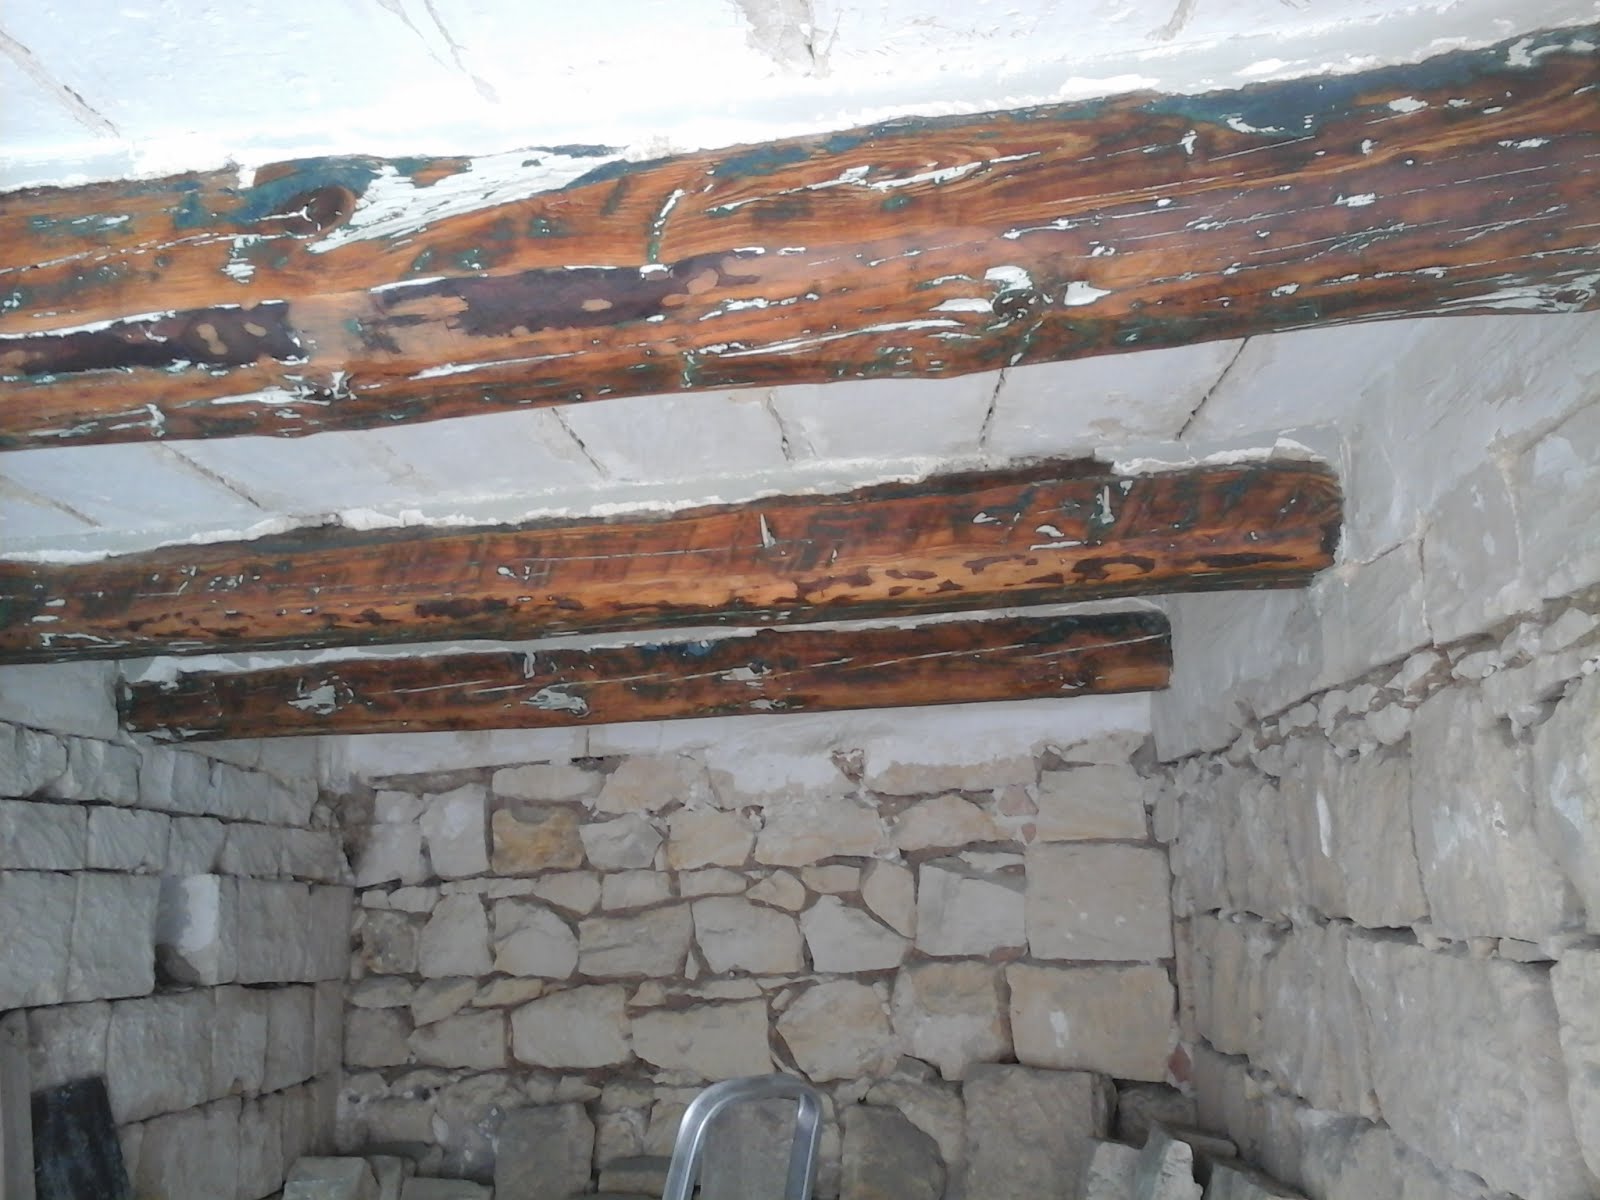
 |
| Beams before |
This was an easy one the paint came of easily, however make sure that you are wearing your goggles and mask, as a lot of fine dust as well as paint chips will fly.
 |
| Beams after paint removal using rough grit |
Sanding down
Using a sander (goggles and mask) the beams were sanded down gradually using finer grit. This helps remove any tool marks left from using the drill sander. Personally I do not think that you have to strive for too fine a surface as they are there for character. The imperfections are also part of the history of the beam anyway. Sanding however gives the surface a good key for paint.
Treating the wood
Had the beams not been already in place, I would have sent them off to a fumigation chamber for treatment, however in my case this was not possible.
For this process an all in one wood preserver was used. To avoid dipping the brush directly into the storage container, pour an amount of wood treatment into a clean tin can. Then apply generously by brush. I also like to inject any woodworm holes I see using a syringe.
This is then simply left to dry. Personally I gave 5 or 6 applications over the course of a few months.
Painting
The beams were to be repainted in a white paint. It is important to removed as much dust as possible from the surroundings by sweeping / vacuuming and washing the floor prior to works. This will avoid disturbing any dust which will stick to fresh paint. First they were wiped down with white spirit to remove as much dust as possible. Using a brush a first coat of undercoat was given. On drying ( always see drying and re-coating times on your product) a second coat of undercoat was given. This was followed by a couple of coats of top coat (finish).
Sanding is not necessary between undercoats, however if more than one coat of finish is given it is wise to sand lightly between coats to create a key (i.e. the surface will allow better adhesion of the subsequent coat).
Form more about painting click here:
http://diditmyselfdiymalta.blogspot.com/2016/08/applying-paint.html
Painting
Sanding is not necessary between undercoats, however if more than one coat of finish is given it is wise to sand lightly between coats to create a key (i.e. the surface will allow better adhesion of the subsequent coat).
Form more about painting click here:
http://diditmyselfdiymalta.blogspot.com/2016/08/applying-paint.html
 |
| First application of undercoat |
 |
| After 2 coats undercoat and 1 coat top coat |
No comments:
Post a Comment